1. 準備 Tinycore Redpill
Step 1. 透過以下網址下載tinycore-redpill,使用usb的請下載.img檔,虛擬機請下載.vmdk。
tinycore-redpill 下載連結:
https://github.com/pocopico/tinycore-redpill

Step 2. 將下載下來的檔案,寫入到usb或是掛載到VM上。
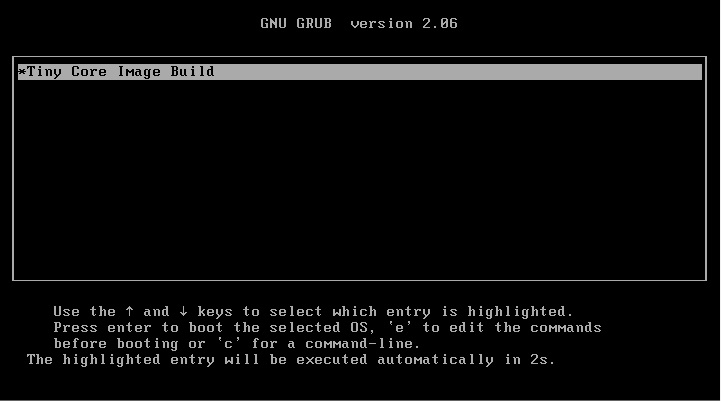
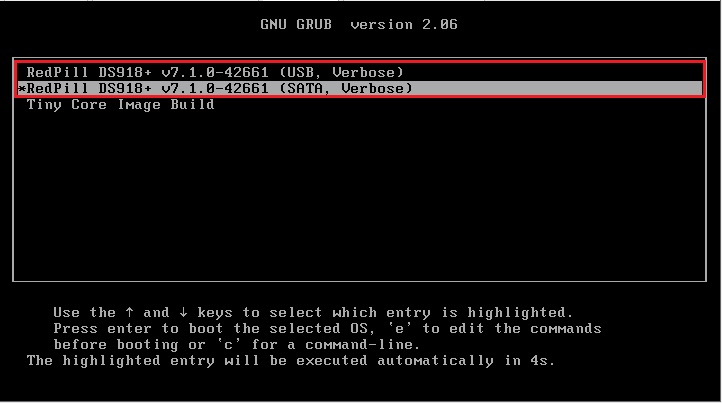
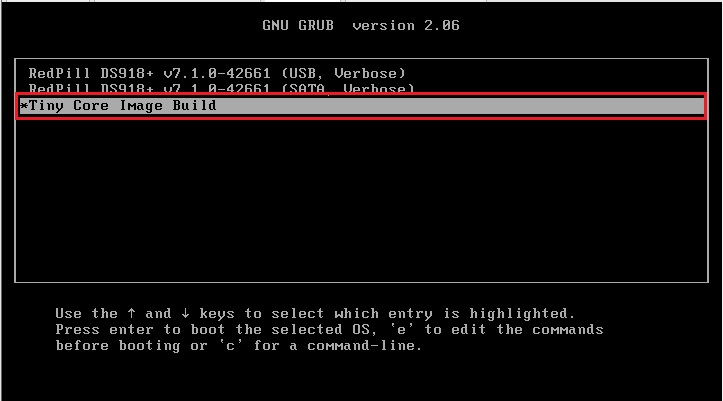
Step 3. 開機後在GRUB的畫面選擇Tiny Core Image Build這個選項。
2. 登入Tinycore-Redpill
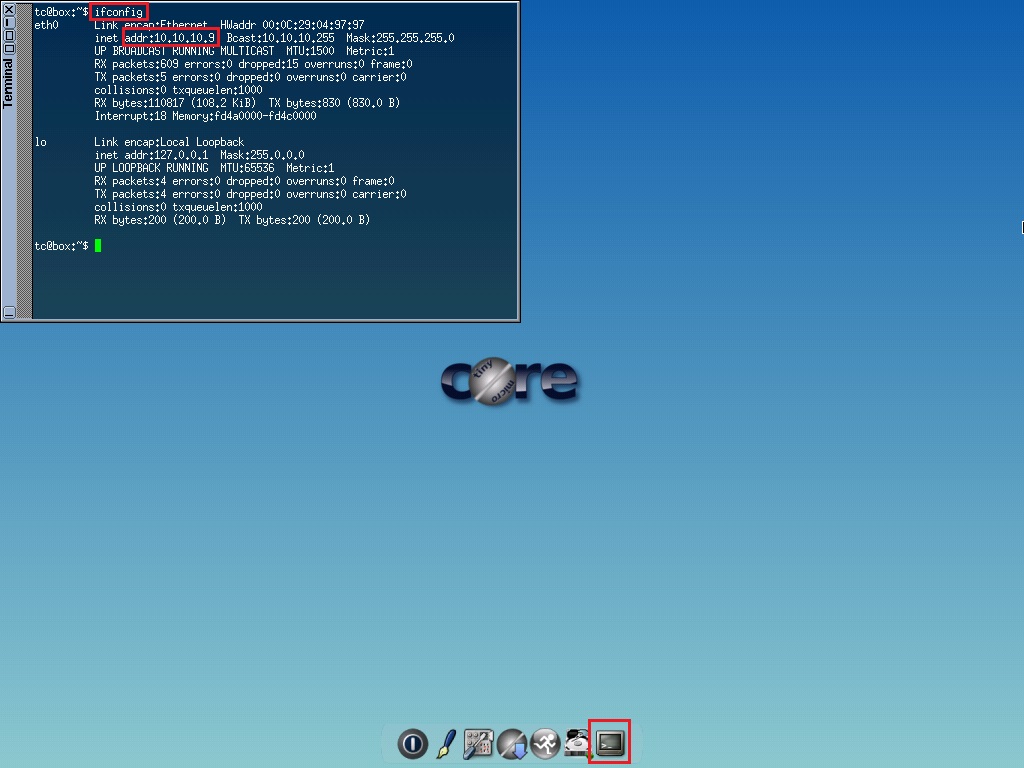
Step 4. 點下方終端機,輸入ifconfig查看目前IP。
Step 5. 使用putty SSH連進tinycore-redpill
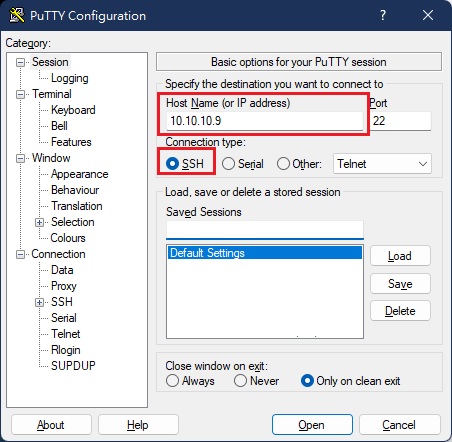
Step 6. 登入 tinycore-redpill
預設帳號:tc
預設密碼:P@ssw0rd

3. 開始編譯黑群暉引導
tinycore-redpill loader 所有指令請參考以下網址
https://yushiryu.com/tinycore-redpill-dsm-loader-%e6%8c%87%e4%bb%a4/
Step 7. 更新 rp-loader
sudo ./rploader.sh update now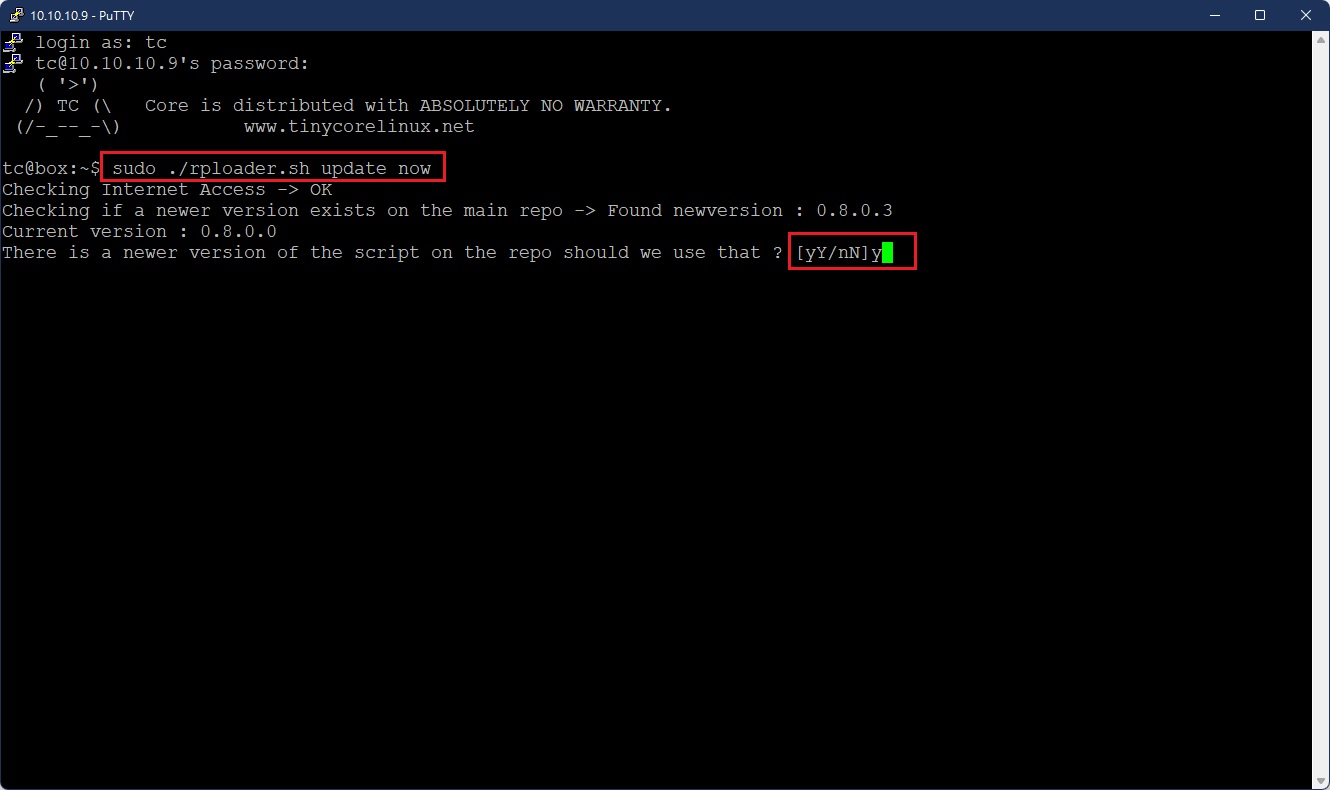
Step 8. 升級 rp-loader
sudo ./rploader.sh fullupgrade now
Step 9. 產生 SN & MAC
sudo ./rploader.sh serialgen "platform" now

範例:(DS3615xs DS3617xs DS916+ DS918+ DS920+ DS3622xs+ FS6400 DVA3219 DVA3221 DS1621+)
sudo ./rploader.sh serialgen DS918+ now
Step 10. 依照自己的需求編輯 user_config.json
如果要使用USB引導,則需修改 pid & vid。
vi user_config.json
(vi編輯器按下i進入編輯模式、按下ESC離開編輯模式、離開編輯模式後輸入 :wq 存檔)

EX: DS918+ 筆者會加入
"netif_num": "2"
"maxlanport": "8"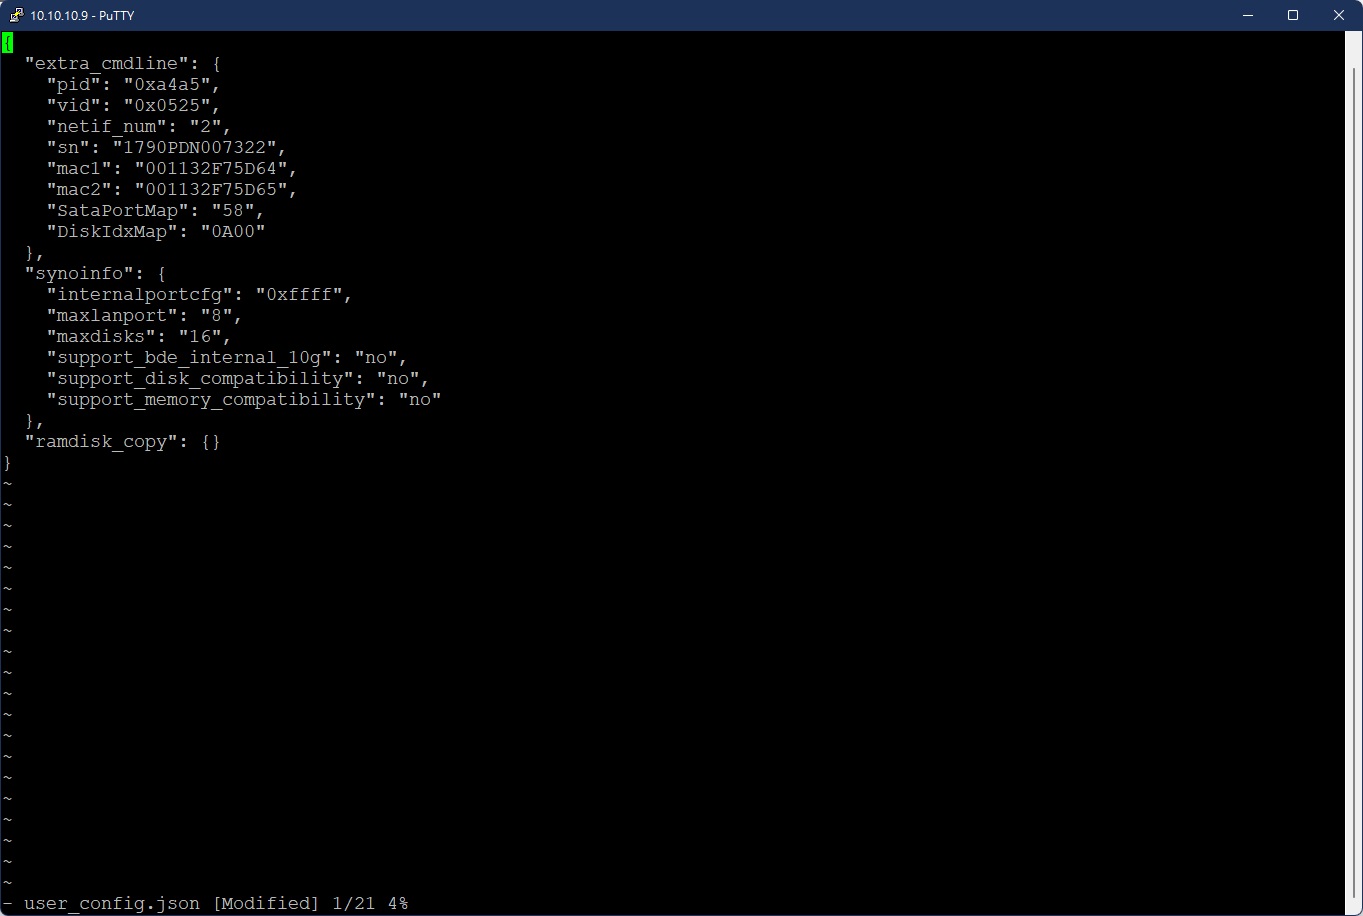
Step 11. 新增驅動 rp-ext
需將會用到的網卡驅動、陣列卡等補齊
sudo ./rploader.sh ext "platform" add "json_url"

範例
sudo ./rploader.sh ext apollolake-7.1.0-42661 add https://raw.githubusercontent.com/pocopico/rp-ext/main/r8125/r
pext-index.json
Step 12. 編譯引導
sudo ./rploader.sh build "platform"

範例:
sudo ./rploader.sh build apollolake-7.1.0-42661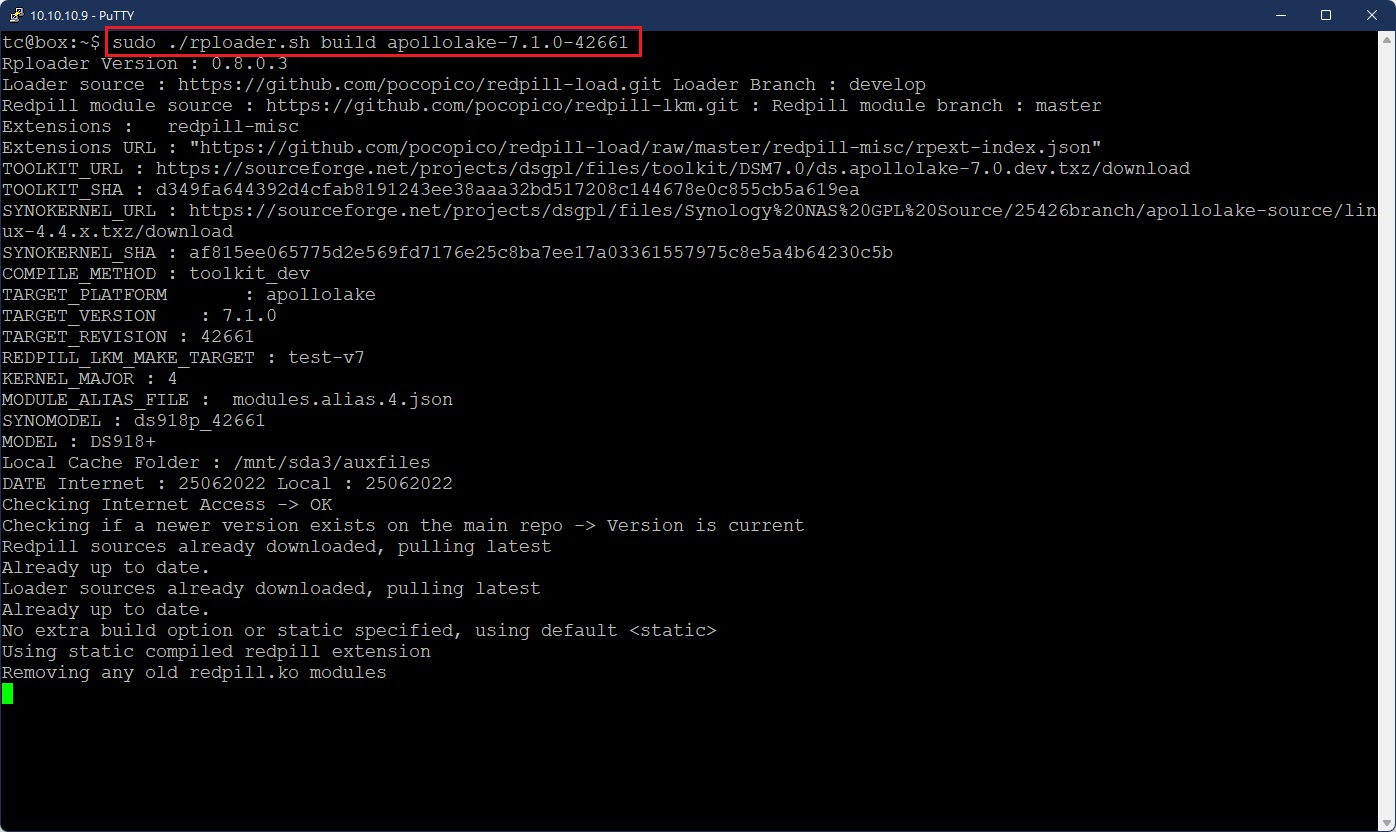
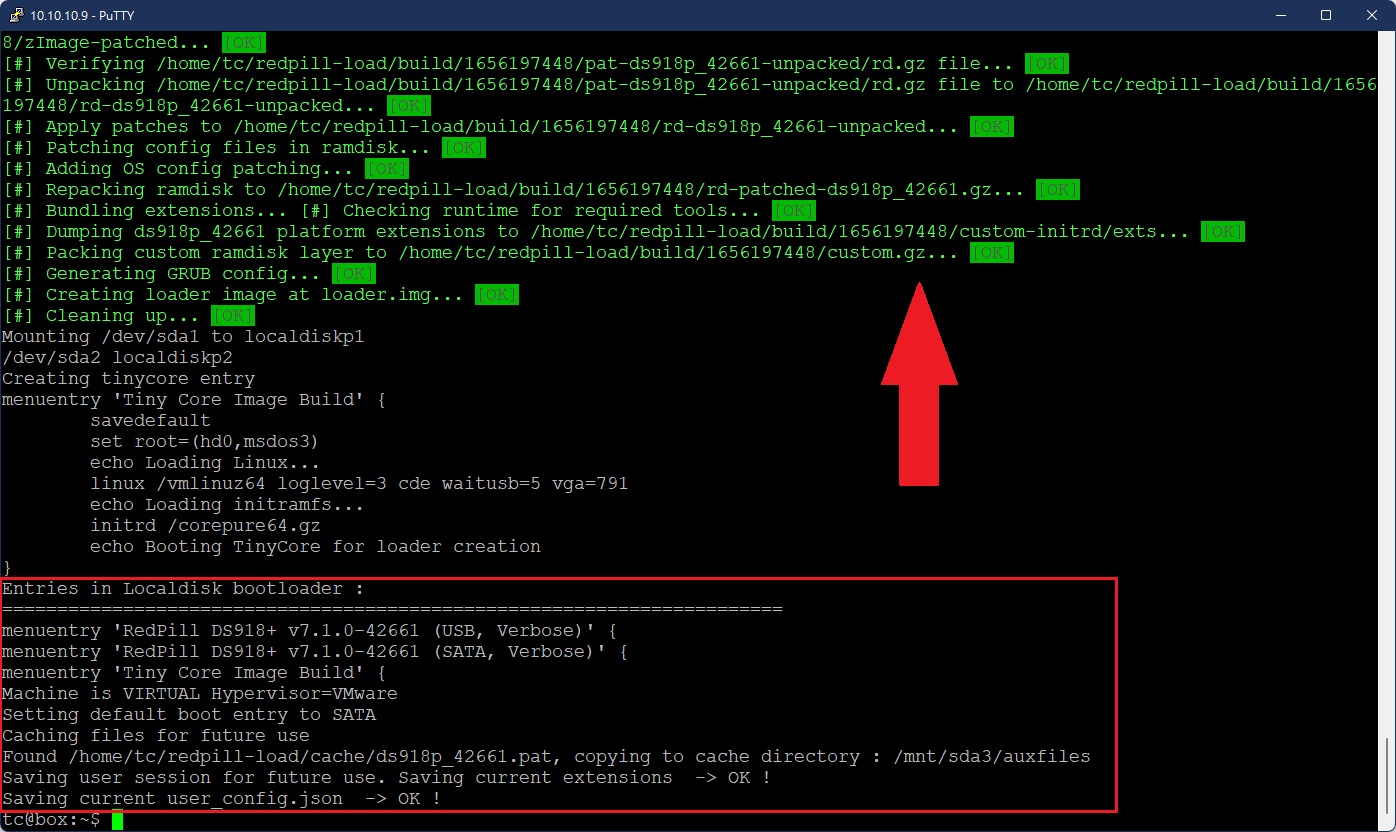
Step 13. 儲存
儲存目前變更
sudo filetool.sh -b

PS:
可以使用 FileZilla 將目前引導備份出來
路徑為 ~/redpill-load/loader.img
Step 14. 重新開機
sudo reboot如果使用USB引導請選結尾為(USB, Verbose),硬碟引導請選(SATA, Verbase)
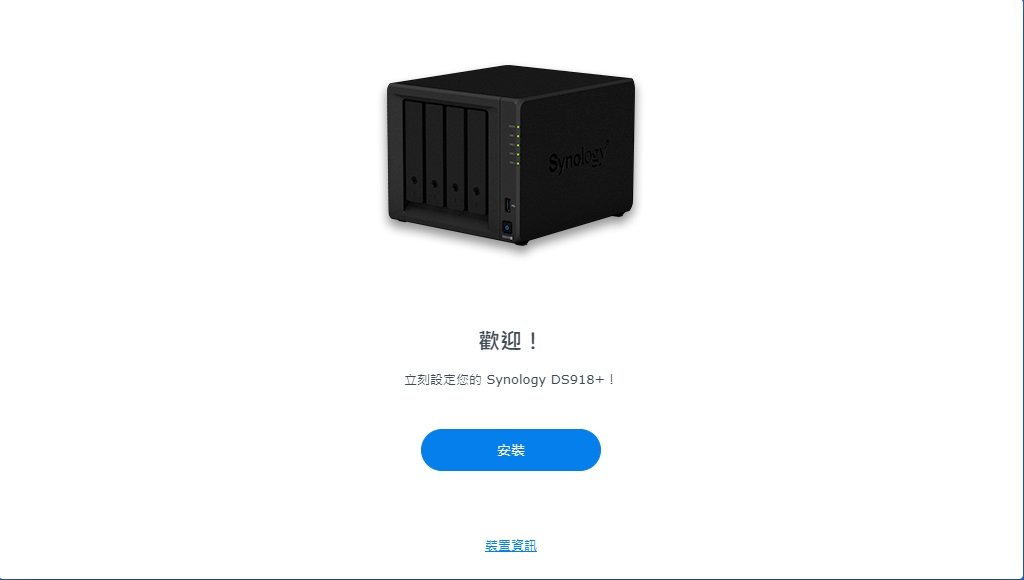
4. 安裝DSM
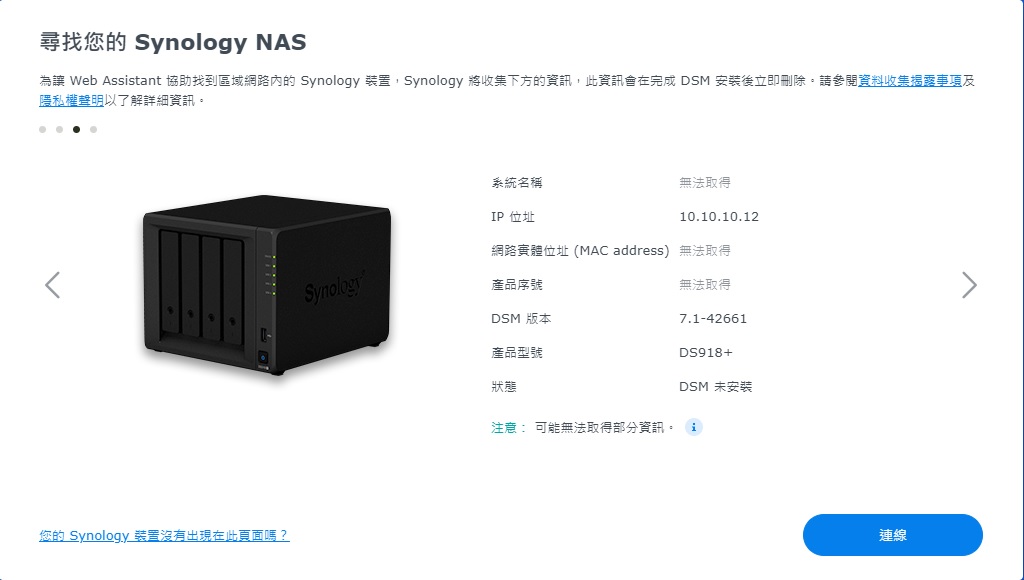
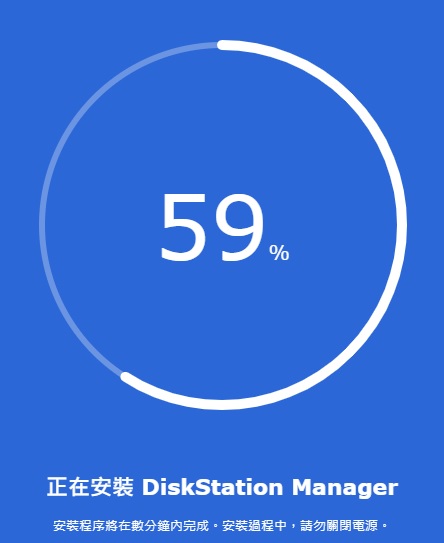
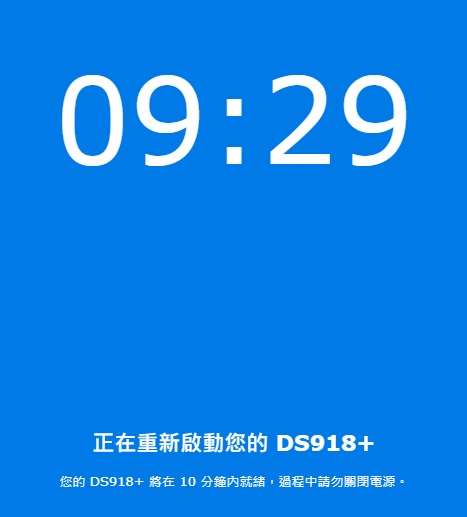
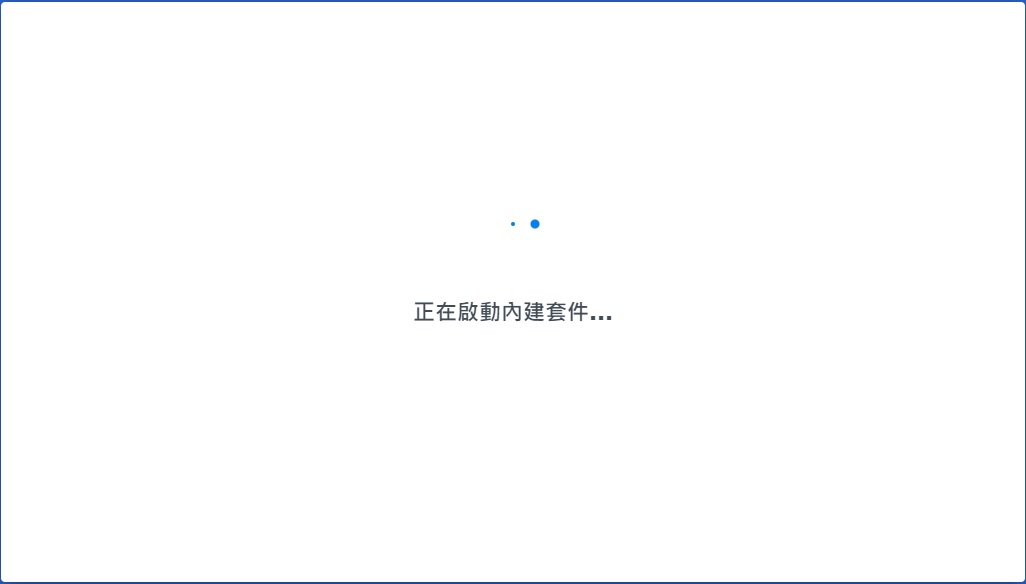
Step 15. 安裝DSM
可透過 http://find.synology.com/ 、Synology Assistant 或是到 DHCP 列表中找到黑群暉IP,然後依照網頁的步驟初始化黑群暉。

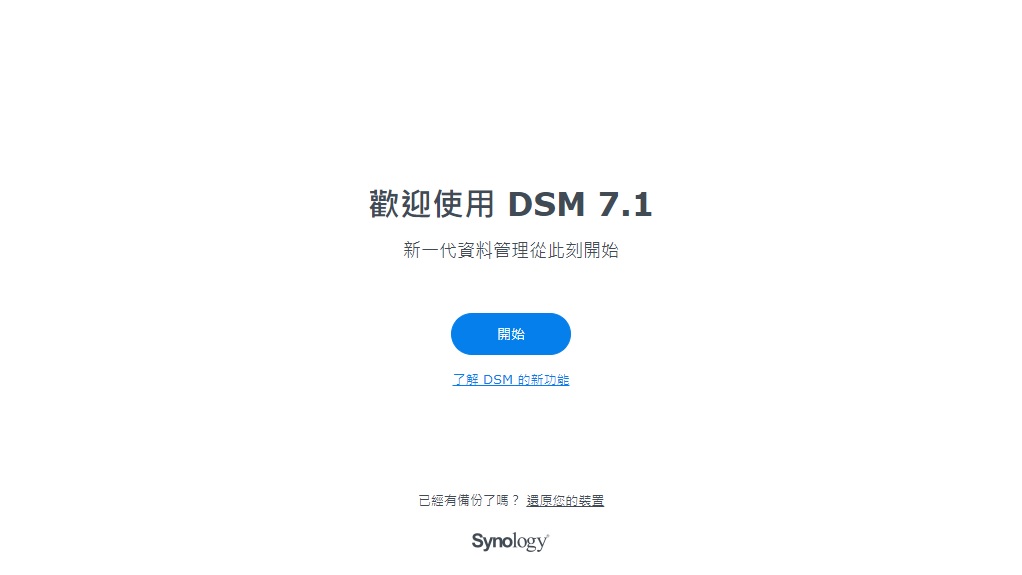
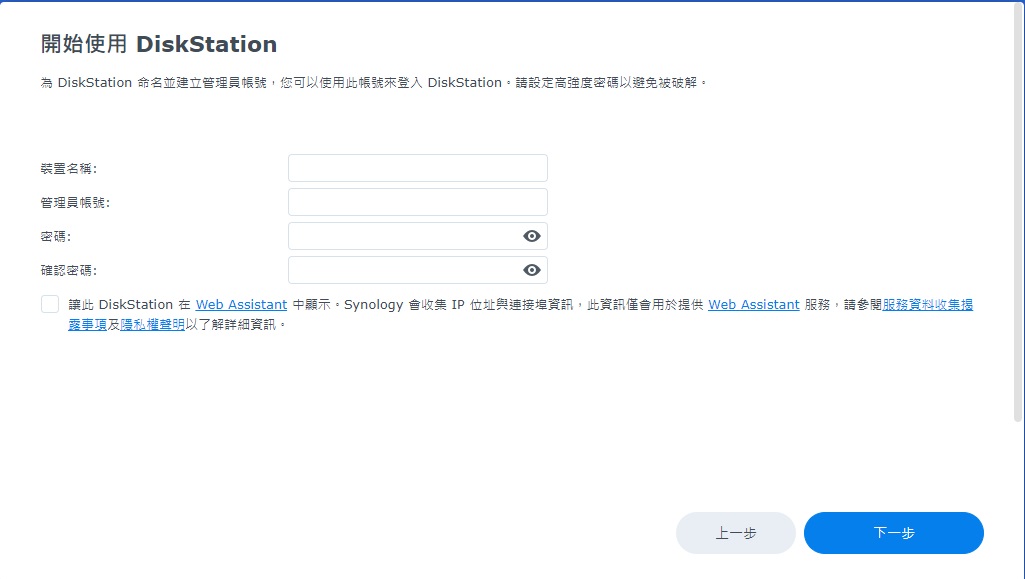
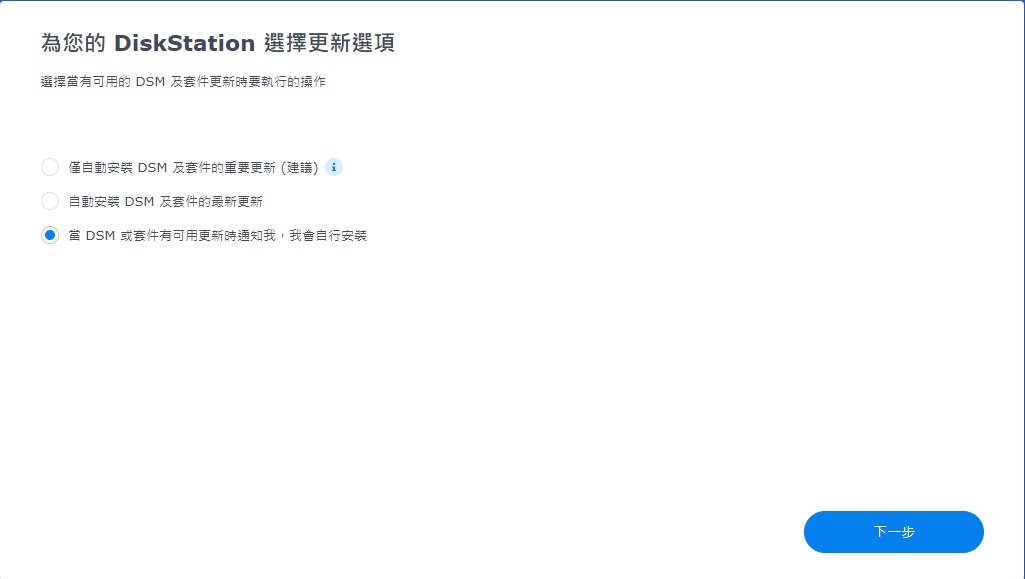
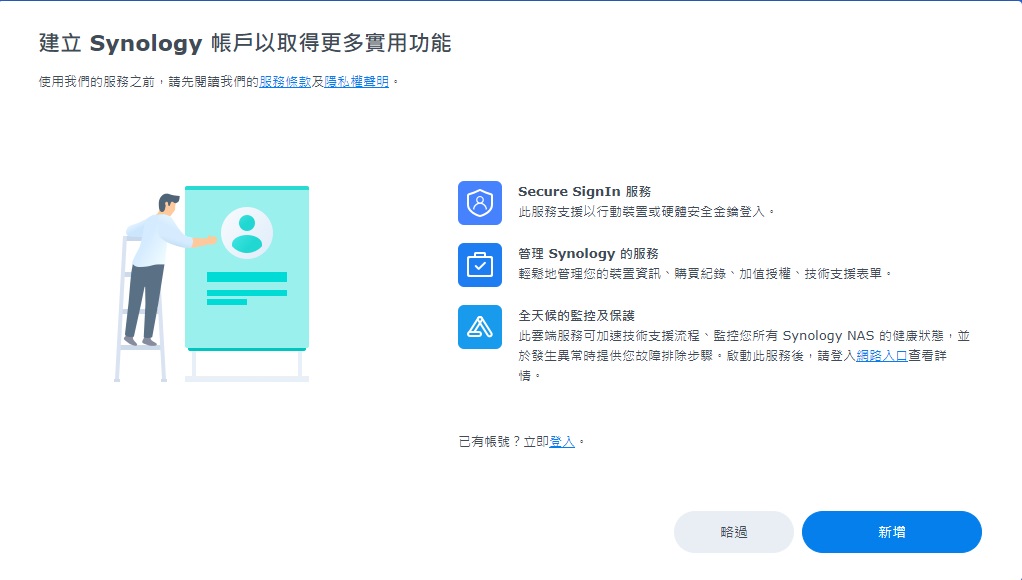
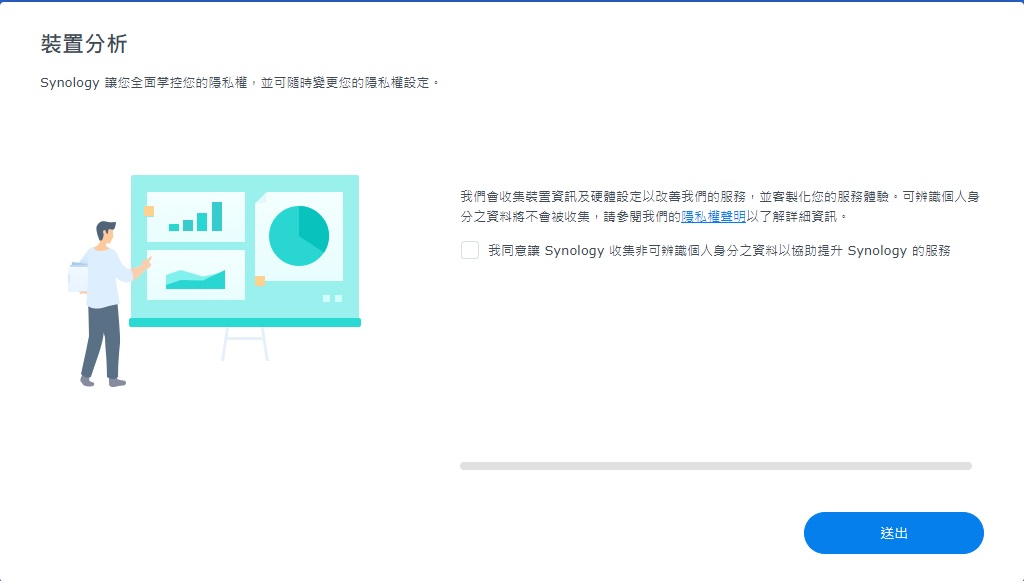
5. 設定DSM
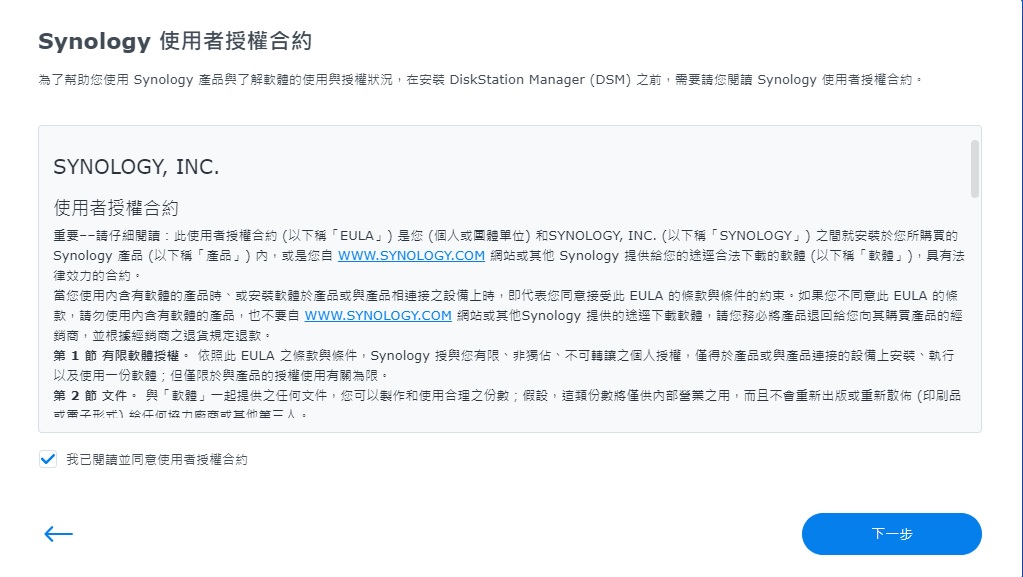
Step 16. 設定DSM
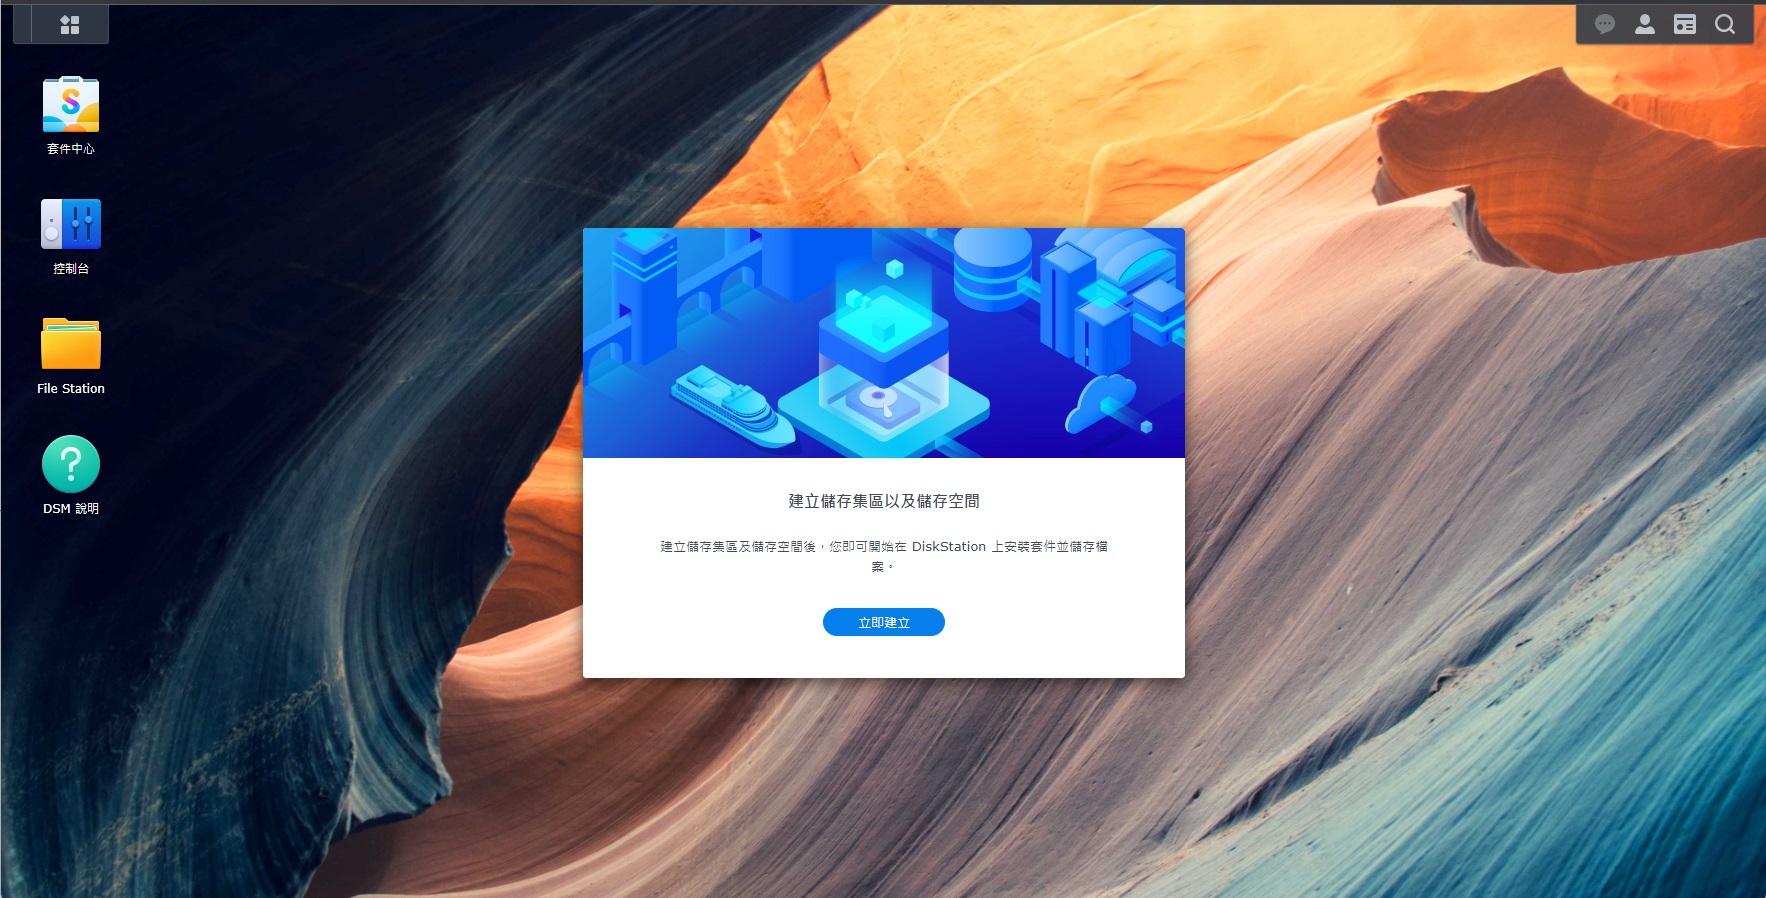
6. 安裝完成
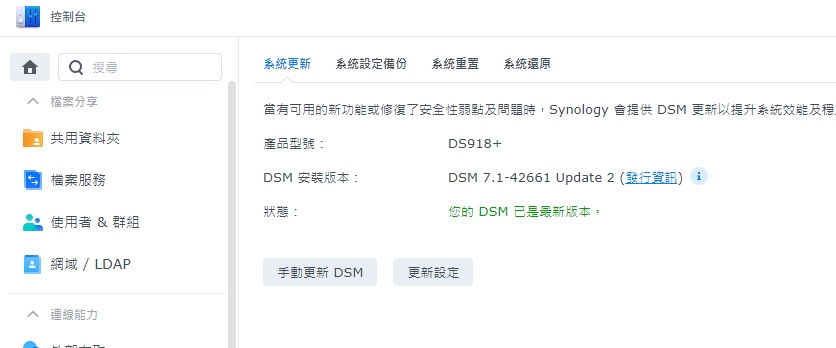
7. 黑群暉更新至 DSM 7.1-42661 Update 2
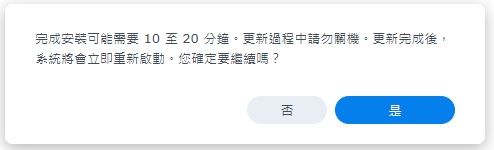
Step 17. 到更新&還原 →手動更新DSM→上傳.pat檔

Step 18. 按下確定開始更新DSM
Step 19. 系統會自動重開,之後GRUB選擇Tiny Core Image Build這個選項
Step 20. 等待啟動至tinycore-redpill後,一樣使用putty SSH連進tinycore-redpill
sudo ./rploader.sh update
sudo ./rploader.sh postupdate apollolake-7.1.0-42661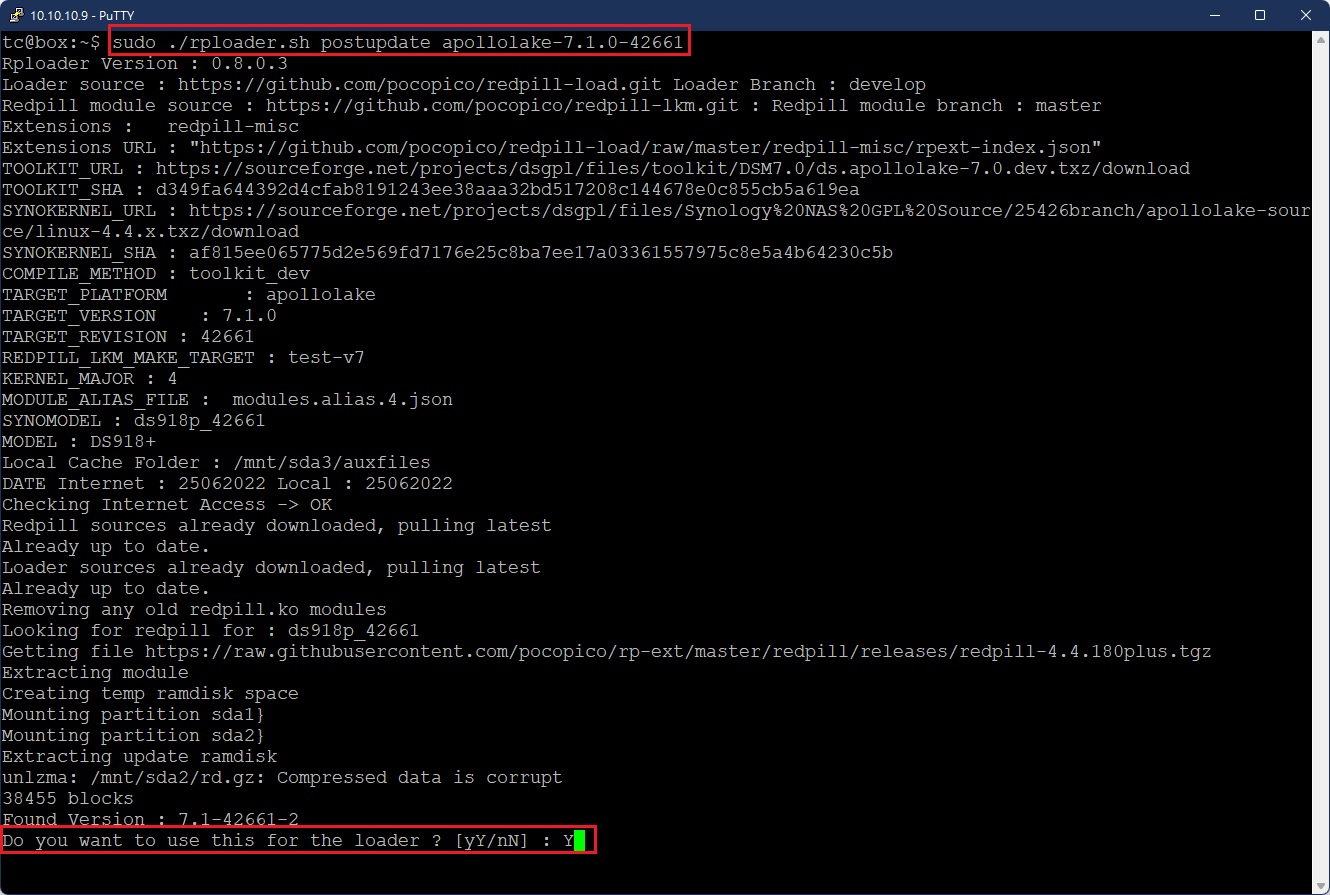

Step 21. 離開並重啟
exitcheck.sh reboot
Step 22. GRUB選擇RedPill Loader 開機
8. DSM 7.1-42661 Update 2 更新成功
才看到这个教程,现在群晖已经装好了,还有改成通过SATA启动的方法么,现在U盘启动感觉麻烦,还有办法搞SATA启动么,还是说生米已经煮成熟饭了
可以喔,再找一顆Sata硬盤,把Tinycore Redpill寫入硬盤裡面,然後在編譯一次引導。
DSM安裝中到56%時必須斷網,否則永遠到不了”安裝與起動內建套件”這步驟,會失敗。
您可以嘗試看看Automated Redpill Loader https://github.com/fbelavenuto/arpl