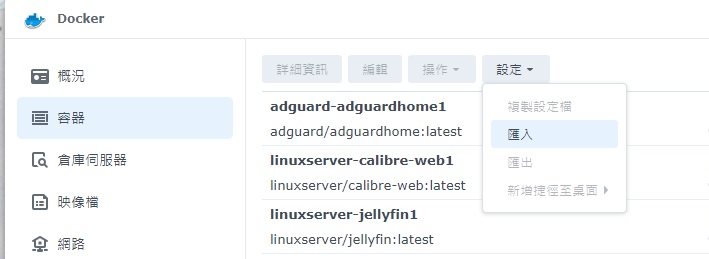
Step 1. 登入DSM後打開Docker。
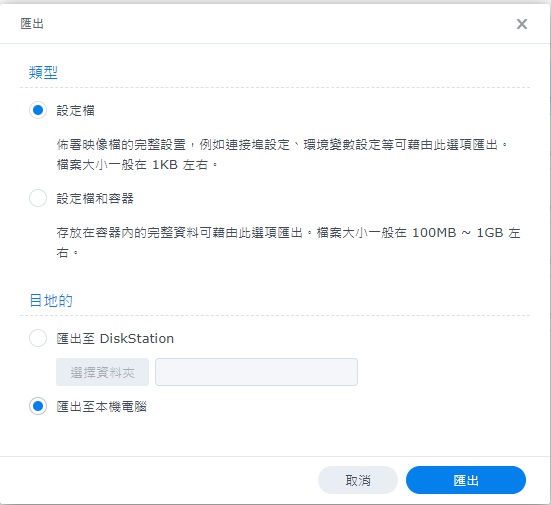
Step 2. 點容器→選擇Jellyfin→設定→匯出。

Step 3. 類型為設定檔,目的地為本機電腦。
Step 4. 將匯出的設定檔以編輯器打開
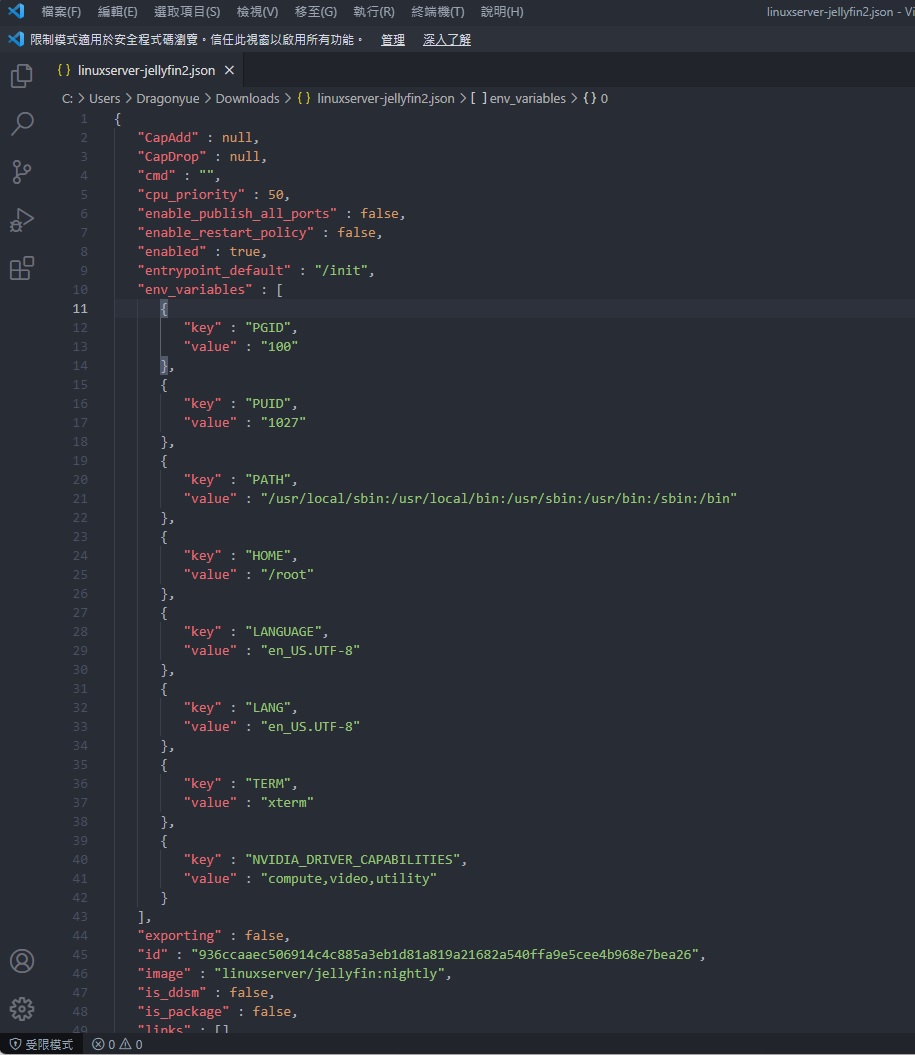
Step 5. 在Jellyfin的設定檔中加入以下幾行並儲存
"devices" : [
  {
    "CgroupPermissions": "rwm",
    "PathInContainer": "/dev/dri/renderD128",
    "PathOnHost": "/dev/dri/renderD128"
  }
],
Step 6. 刪除原來的Jellyfin

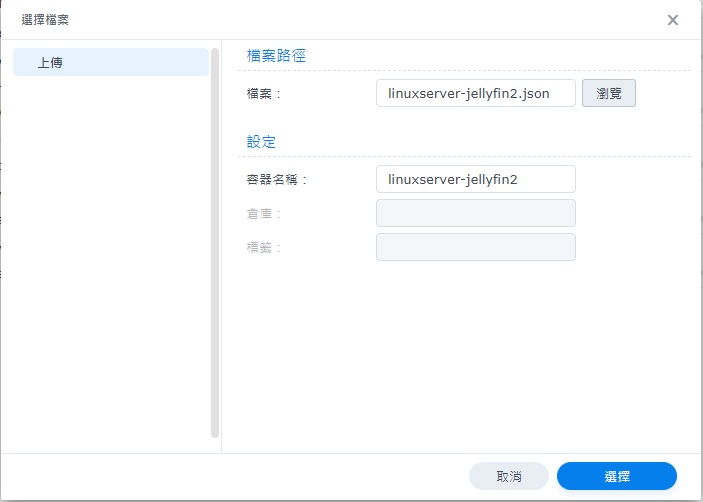
Step 7. 匯入修改好的設定檔(上傳好後先不要執啟動Jellyfin)
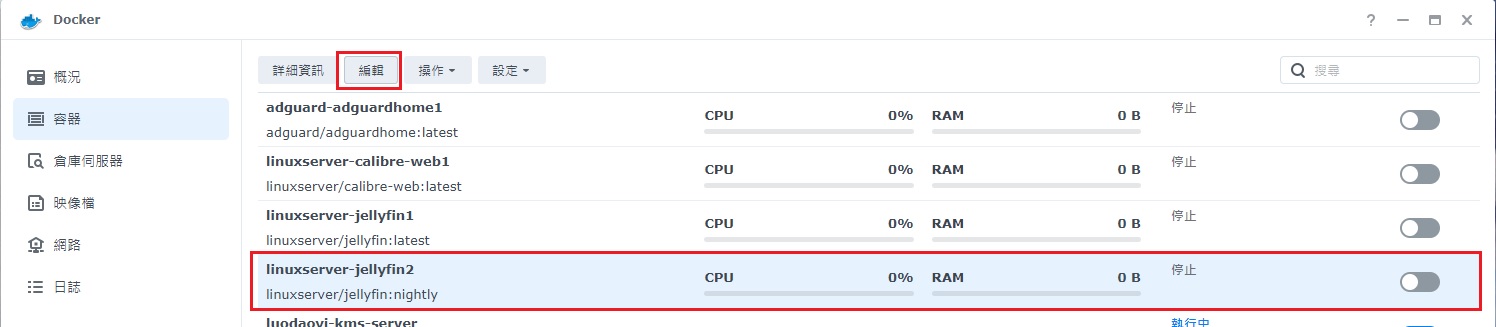
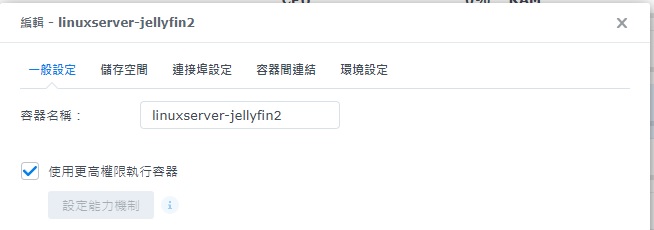
Step 8. 編輯Jellyfin,勾選使用更高權限執行容器。
Step 10. 啟動容器,登入Jellyfin後進入控制台。
Step 11. 撥放→轉檔→硬體加速選擇 VAAPI→保存→重啟容器
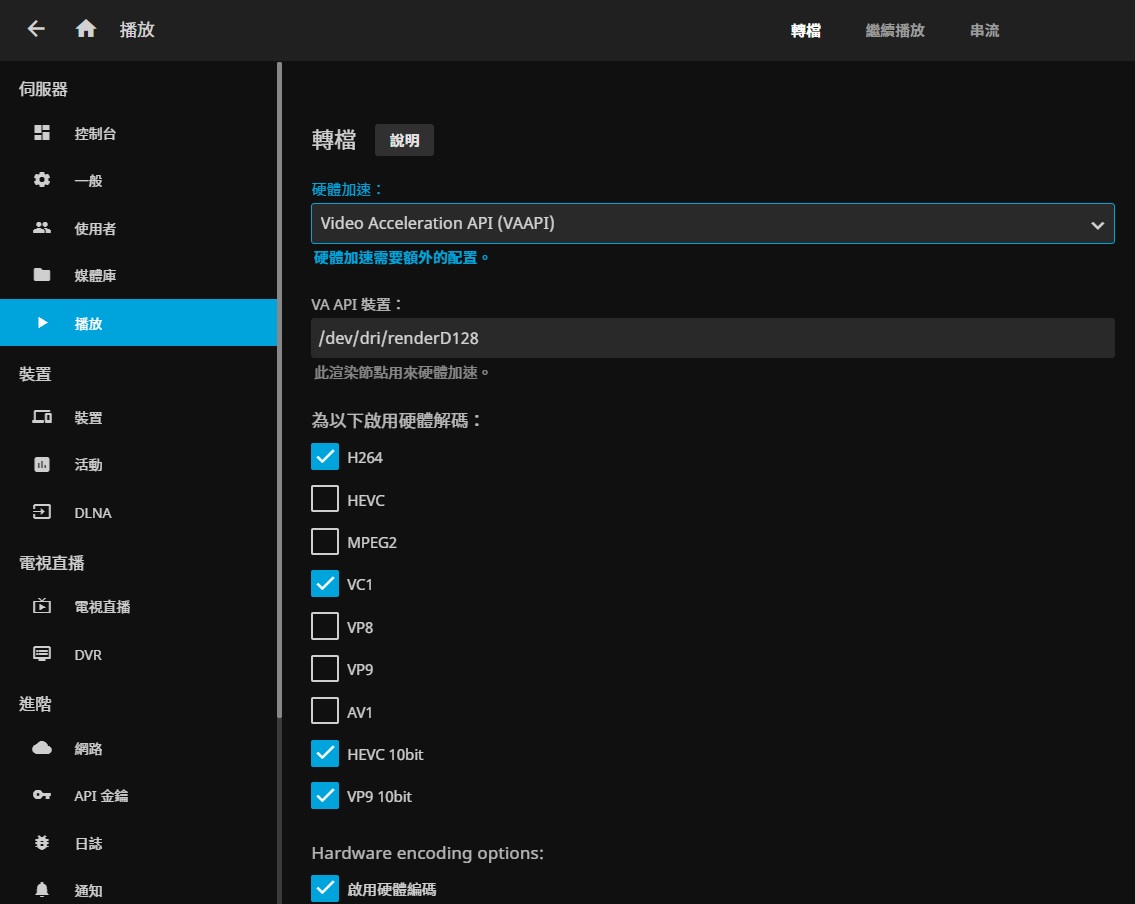
這樣就大功告成了